How to Extract Audio From a Video (to MP3 and More)
Learn how to extract audio from a video in your browser, on Windows, Mac, phone, or with ffmpeg — plus when to keep the lossless original vs. export to MP3.
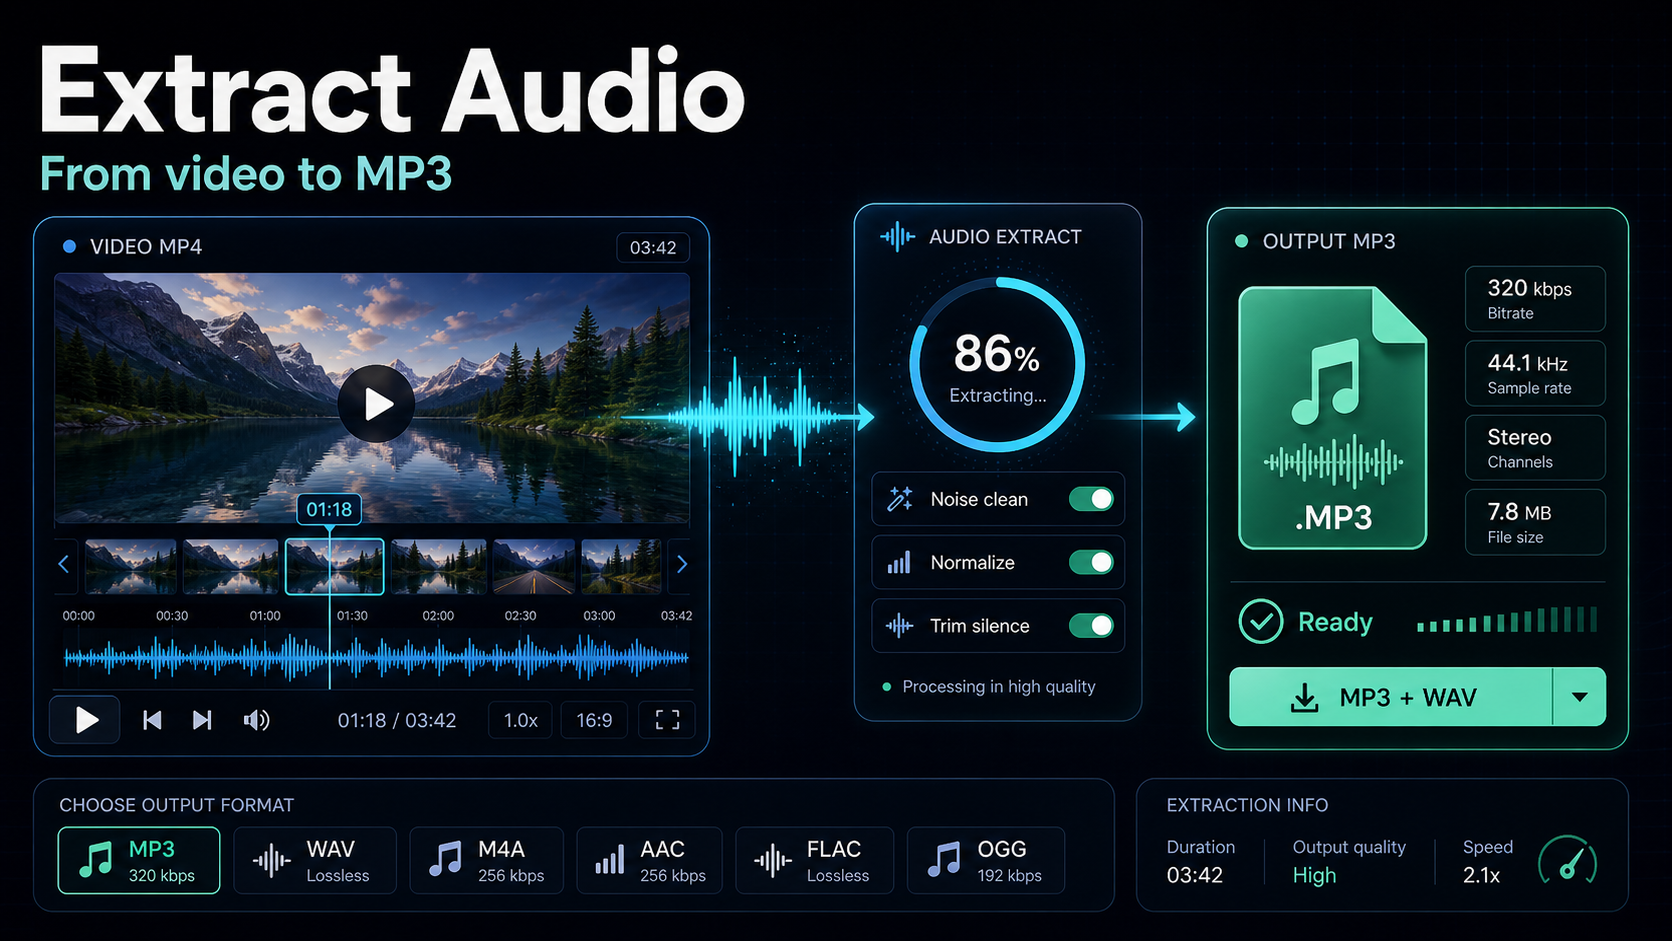
To extract audio from a video, you separate the sound from the picture and save it as an audio file — usually MP3, WAV, or M4A. You can do it in your browser with nothing to install, on Windows or Mac with free tools, on your phone, or with a single command-line instruction. The method you pick matters more than most tutorials admit, because of one detail tool pages quietly skip: whether you copy the original audio stream untouched (lossless) or re-encode it to MP3 (lossy). This guide walks through how to extract audio from video on every platform, and — more usefully — helps you choose the approach that keeps your sound clean for podcasts, transcription, and voiceover reuse.
Key Takeaways
- Diagnose the audio job first: extraction, cleanup, stem separation, voiceover, and loudness are different tasks.
- Use the least destructive process that solves the problem, and test one hard clip before batching.
- Removing music or extracting audio does not clear rights to someone else's footage.
- Keep source audio organized so transcripts, captions, voiceovers, and exports stay traceable.
Lossless copy vs. MP3 re-encode: the choice tool pages hide
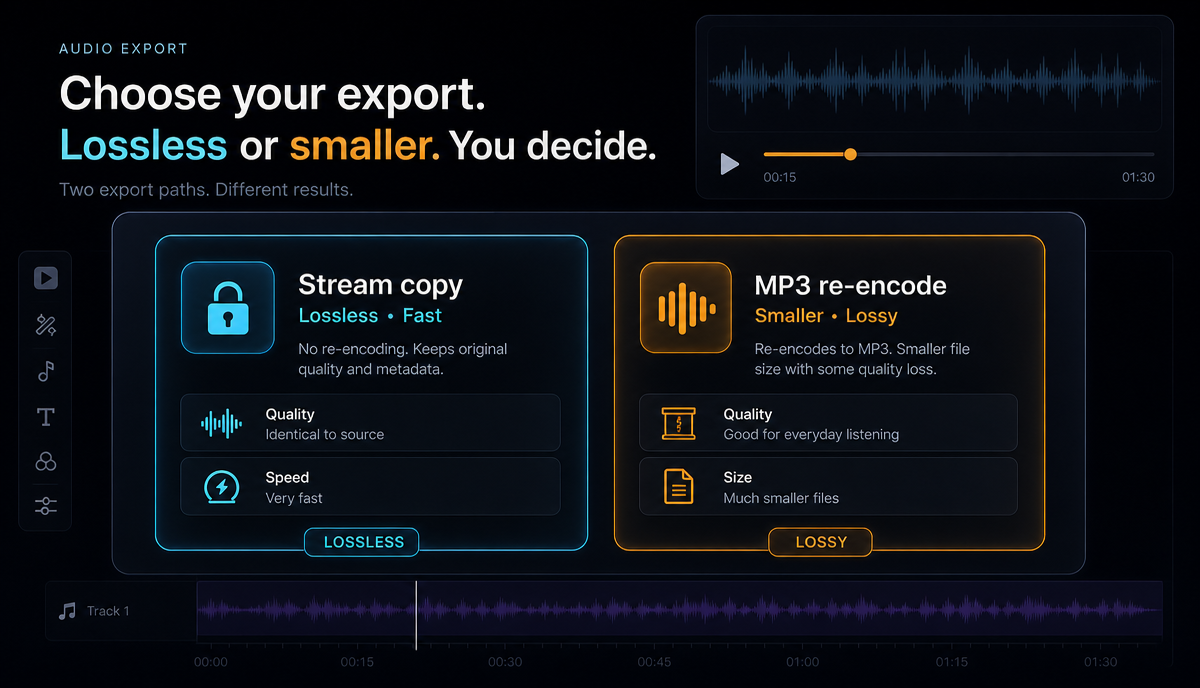
Here's the part that trips people up. Most MP4 and MOV files store their audio as AAC — a compressed format that's already "good enough" straight out of the camera or screen recorder. When a converter offers to turn your video into MP3, it does two things behind the scenes: it decodes that AAC audio, then re-encodes it to MP3. That second pass is lossy, meaning it throws away a little more quality every time.
There's a better option for many jobs: a stream copy (also called passthrough or remux). Instead of re-encoding, the tool lifts the original AAC audio out of the video container and drops it into an audio-only file (.m4a or .aac) — byte-for-byte identical to what was already there. No quality loss, and it's near-instant because nothing is being crunched.
The simple rule:
- Keep the original (stream copy → M4A/AAC) when you're archiving, editing, transcribing, or building a podcast master. You want every bit of the source.
- Re-encode to MP3 when you need maximum compatibility — an old media player, a strict upload form, or a client who asked for "an MP3." The quality drop is small and usually inaudible for speech.
- Export WAV when the audio is heading into an editor or cleanup tool. Uncompressed PCM gives you the most headroom for noise reduction and mastering.
If you remember nothing else: extracting to MP3 is never lossless, even from a high-bitrate source. If quality is the priority, copy the stream.
How to extract audio from a video in your browser (no install)
The fastest path for most people — and the one that works the same on Windows, Mac, and phones — is a browser tool. Because it runs in a tab, there's nothing to download and no OS-specific steps. If you searched for a way to extract audio from video online free, this is the workflow you were picturing.
Here's the flow with Recapo, which runs entirely in the browser:
- Open the extract audio from video tool in your browser.
- Upload your clip. It accepts MP4, MOV, and other common formats, up to 6GB per task — so a full recording is fine, not just short snippets.
- Choose your output format based on the rule above (MP3 for compatibility, or a lossless container to preserve the original track).
- Export and download the audio file.
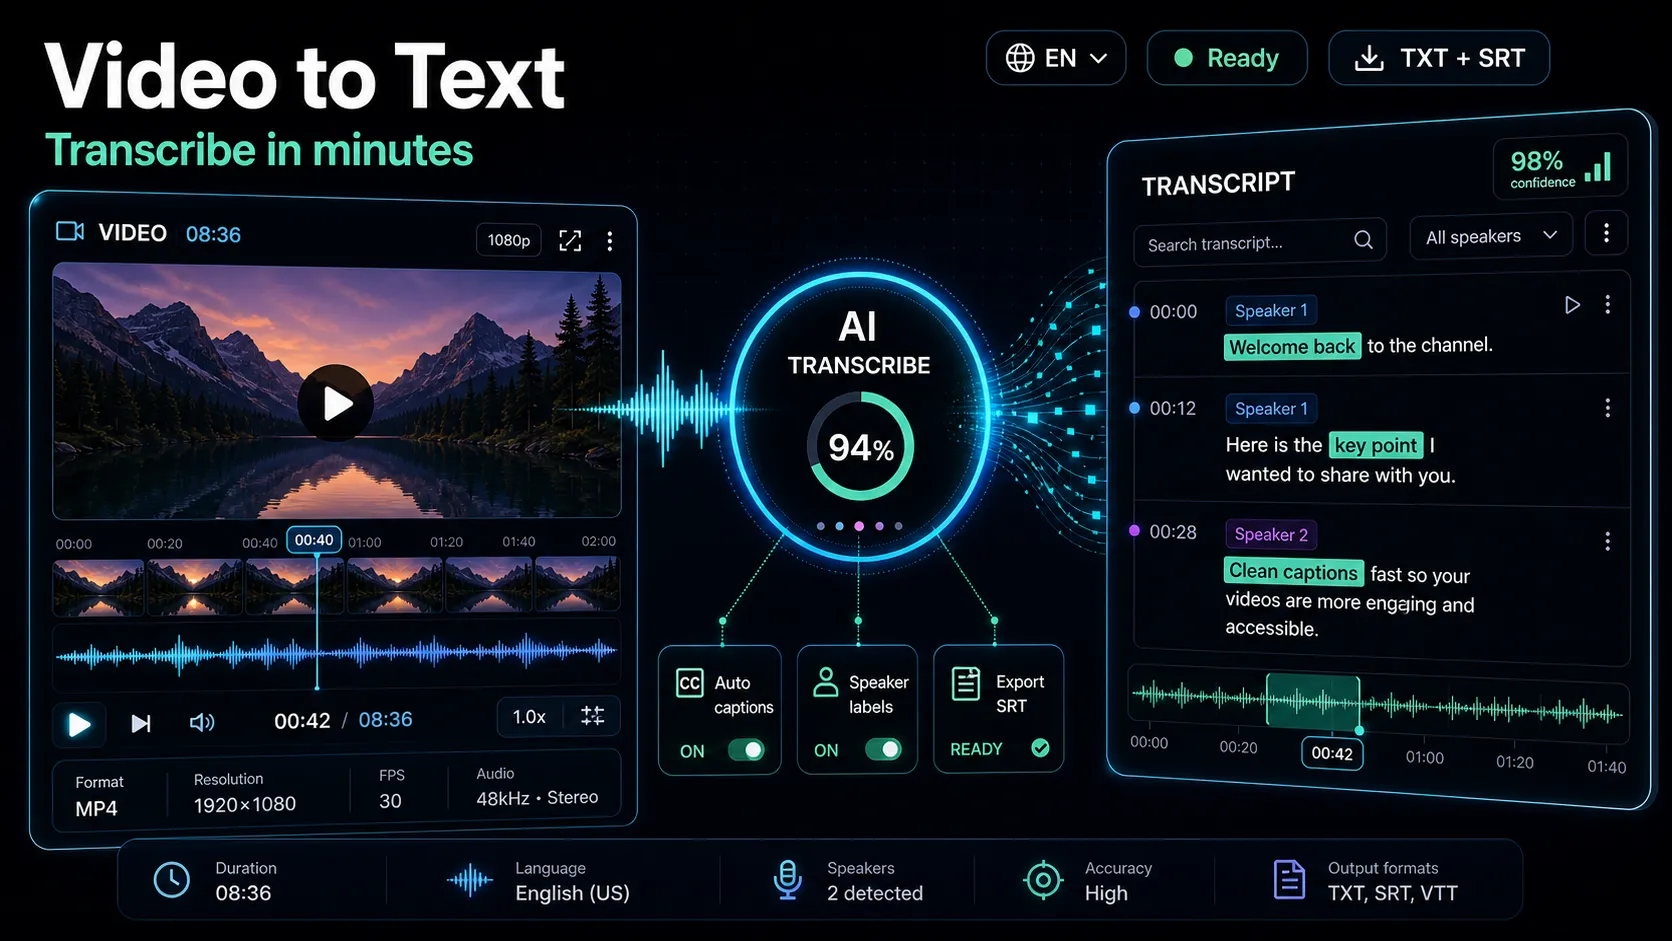
If your source file is an unusual container the tool doesn't like — an MKV, WEBM, or something a screen recorder spat out — run it through the video format converter first to get a clean MP4 or MOV, then extract. And if the reason you're pulling audio is to get words on a page, you can skip the middle step entirely and send the video straight to speech-to-text for a transcript.
Browser extraction is genuinely convenient, but be honest about the trade-off: most online extractors default to an MP3 re-encode. If lossless matters for this particular file, check whether the export options let you keep the original stream — or use ffmpeg (below), which makes the lossless copy explicit.
Which audio format should you export? MP3, WAV, or M4A
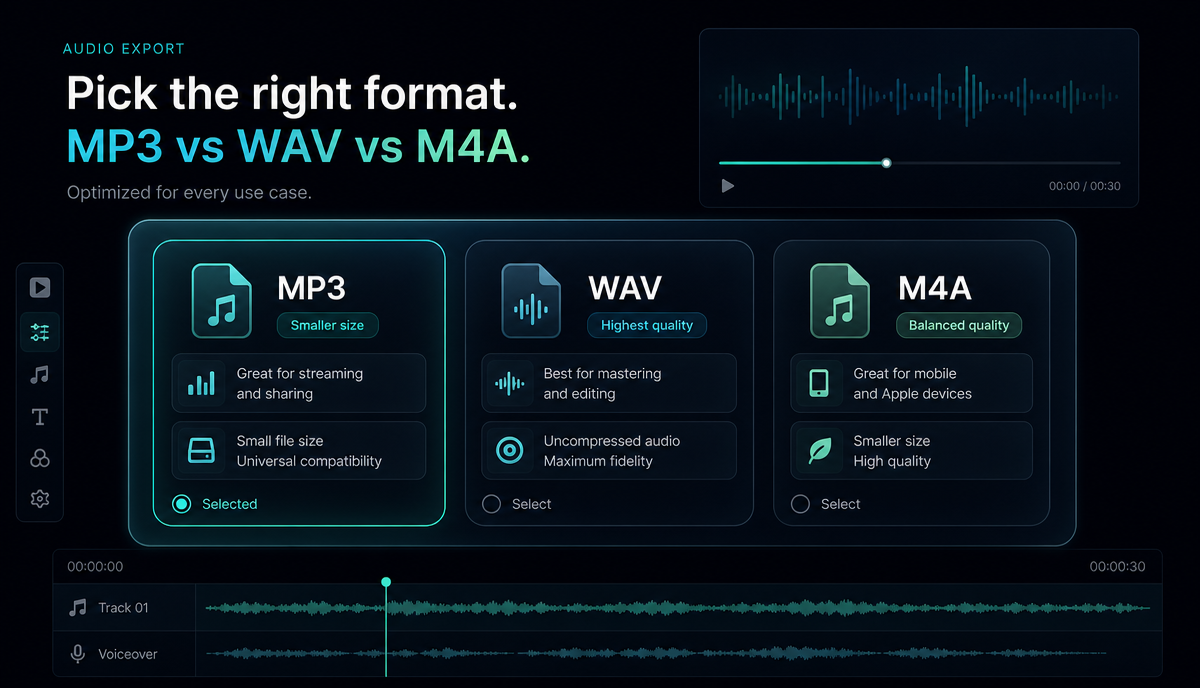
This is where "video to mp3" is often the wrong reflex. Match the format to the job:
| Format | What it is | Best for | Trade-off |
|---|---|---|---|
| MP3 | Lossy re-encode | Universal playback, small files, upload forms, sharing | A second lossy pass — slight quality loss |
| M4A / AAC (stream copy) | Lossless copy of the original track | Archiving, editing, transcription, podcast masters | Slightly less universal than MP3 |
| WAV | Uncompressed PCM | Editing, noise cleanup, mastering | Large files (tens of MB per minute) |
A quick way to decide: if a human is going to listen to the file casually, MP3 is fine. If a tool or editor is going to process it — a transcriber, a noise reducer, a DAW — give it the cleanest input you can (M4A stream copy or WAV) and export the lossy version only at the very end.
Extract audio on Windows, Mac, phone, and with ffmpeg
Different platforms, same goal. Here's the honest lay of the land:
| Platform | Method | Lossless copy possible? |
|---|---|---|
| Any OS (browser) | Recapo extract-audio tool | Depends on export options |
| Windows | VLC (Media → Convert/Save) | No — VLC re-encodes |
| Windows / Mac / Linux | ffmpeg (command line) | Yes — explicit stream copy |
| Mac | QuickTime + free tools, or ffmpeg | Yes, via ffmpeg |
| iPhone / Android | Browser tool or a Files/Shortcuts flow | Depends on the app |
Windows (VLC): Open VLC → Media → Convert/Save → add your video → Convert/Save → pick an audio profile like MP3 → choose a destination → Start. It's free and reliable, but note VLC re-encodes, so this is a lossy MP3 route, not a stream copy.
ffmpeg (any desktop OS): This is the power-user tool, and it's the clearest way to control lossless vs. lossy. Install ffmpeg, open a terminal in the folder with your video, and:
- Lossless copy of the original audio (near-instant, no quality loss):
ffmpeg -i input.mp4 -vn -c:a copy output.m4a - Extract audio from MP4 to MP3 (compatible, lossy):
ffmpeg -i input.mp4 -vn -c:a libmp3lame -q:a 2 output.mp3 - Export uncompressed WAV (for editing/cleanup):
ffmpeg -i input.mp4 -vn -c:a pcm_s16le output.wav
The -vn flag means "no video," and -c:a copy is the magic that copies the stream instead of re-encoding it.
Phone: The browser tool is usually the least painful route — open the site in Safari or Chrome, upload from your camera roll or Files, extract, and save back to Files. iOS Shortcuts can also encode media, and Android has plenty of small extractor apps, but they vary in quality and ads, so test one file before trusting it with a batch.
Three real jobs: podcast repurposing, transcription, voiceover reuse
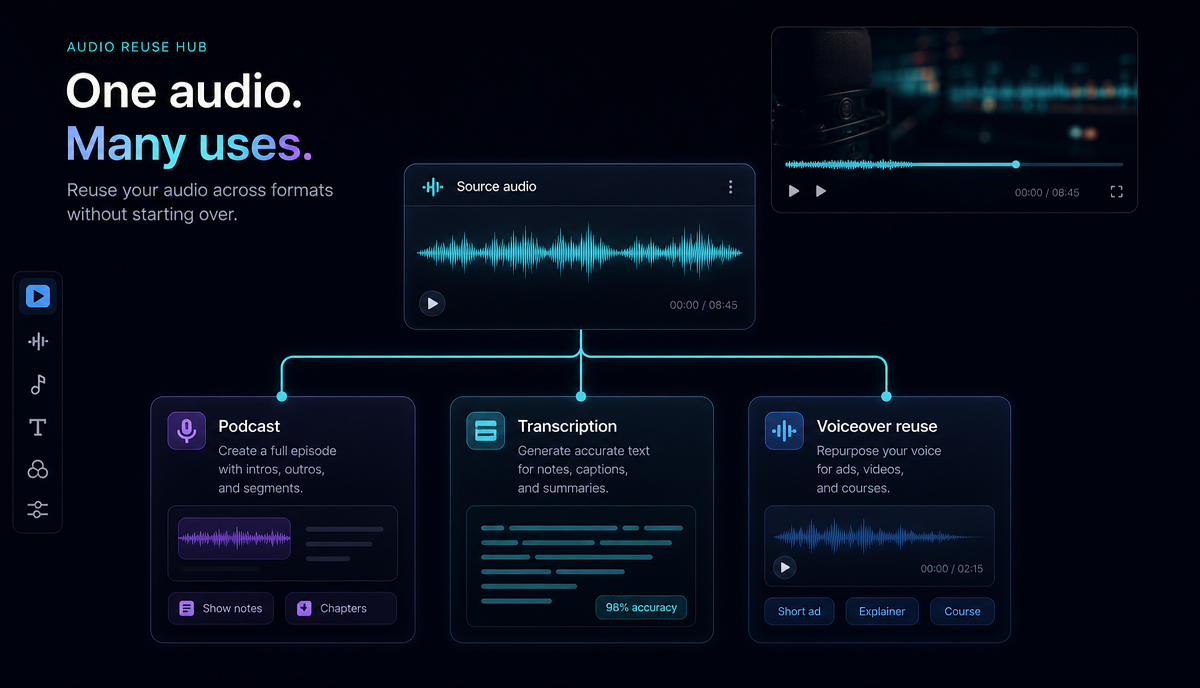
Extracting audio is rarely the goal — it's step one of something bigger. The three most common reasons creators do it:
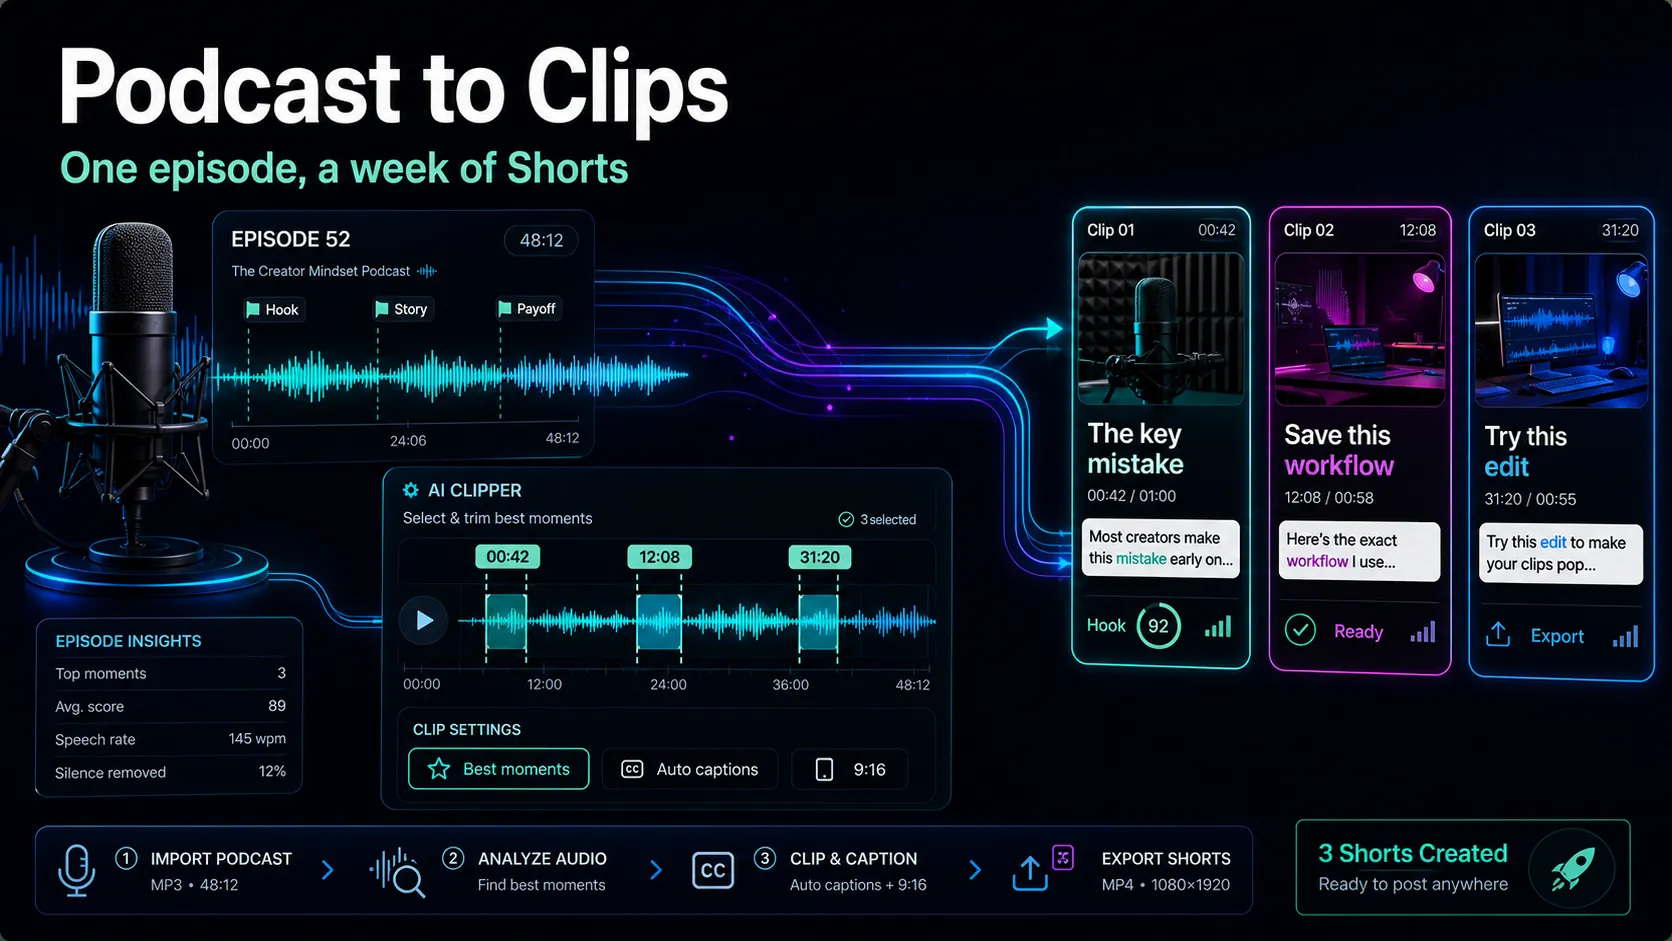
1. Turning a video into a podcast episode. You filmed or streamed something long-form and want an audio version for Spotify or Apple Podcasts. Here, quality is worth protecting: do a lossless stream copy so your podcast master isn't a re-compressed shadow of the recording. From there you can chop the long recording into segments — the same logic in how to turn a podcast into clips applies in reverse.
2. Getting a transcript. If you want captions, a blog post, or show notes, you don't actually need a pristine MP3 — you need accurate words. You can extract the audio and feed it to a transcriber, but it's faster to hand the whole video to speech-to-text and skip the export. For the full workflow, see how to transcribe a video.
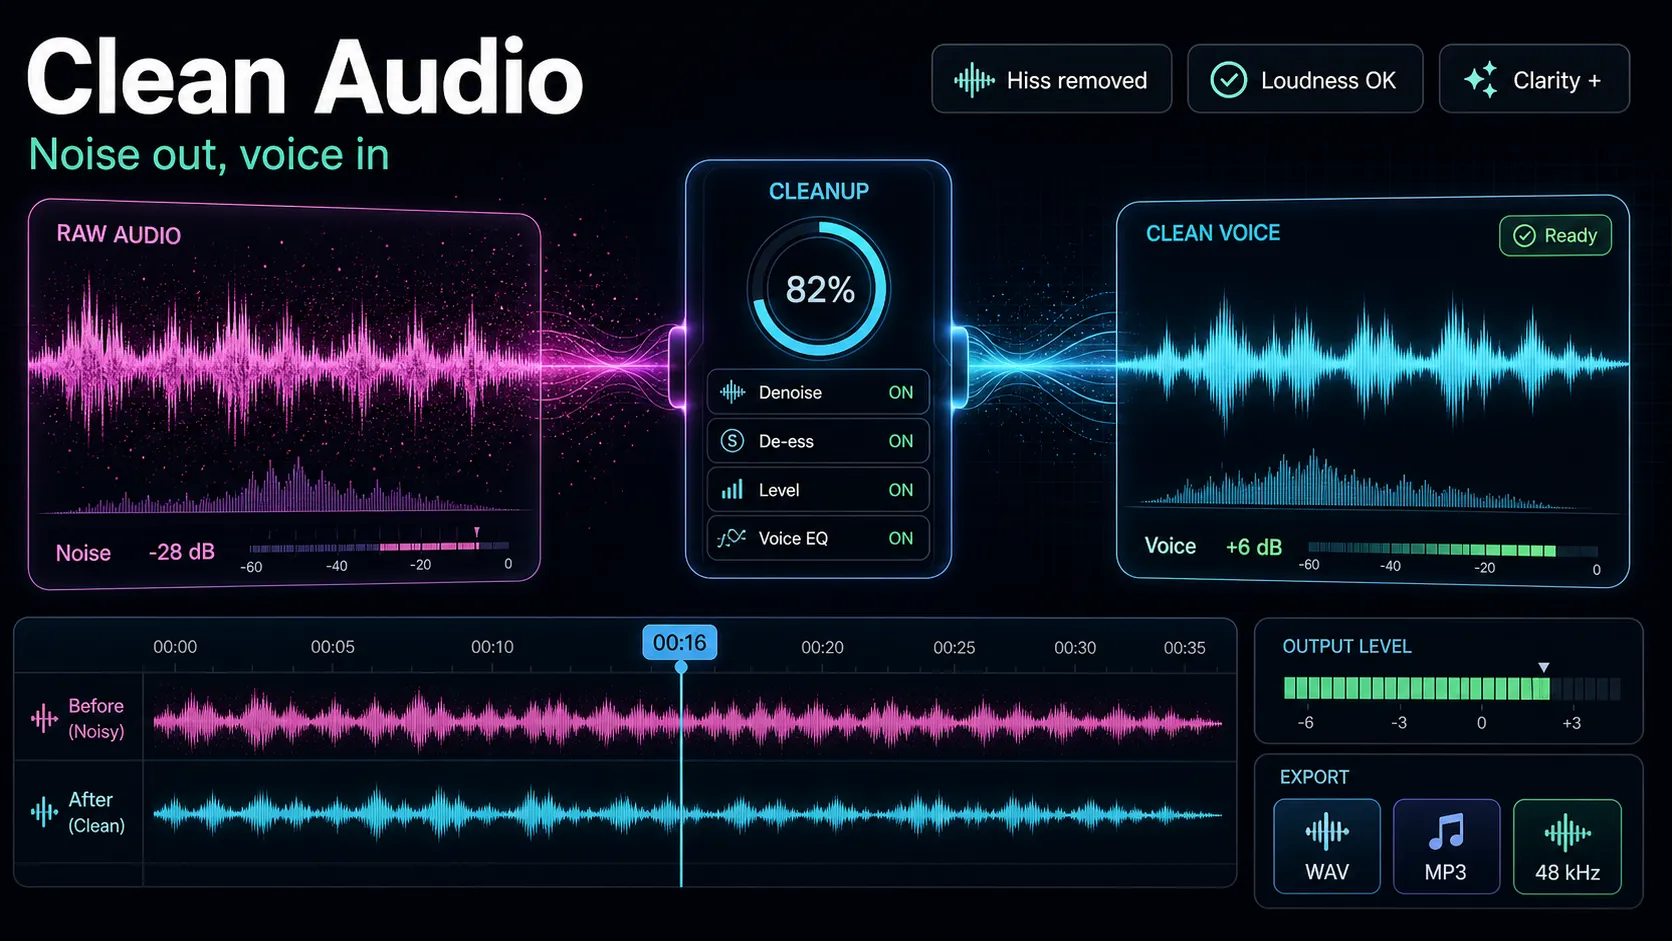
3. Reusing audio for a new edit. Maybe you want the voiceover from an old video laid under new B-roll, or you're isolating a clean vocal track to work with. Extract to WAV so an editor has room to work, then clean it up — see how to clean up audio for video — before you drop it back into a project.
Being clear about why you're extracting tells you which format to pick. Podcasters guard quality; transcribers just need words; editors want headroom.
How to batch-extract audio from many videos
Doing one file is easy. Doing forty is where a plan pays off — a season of recordings, a folder of interview clips, a backlog of livestreams.
If you're comfortable in a terminal, ffmpeg loops through a folder in one line. On Mac or Linux:
for f in *.mp4; do ffmpeg -i "$f" -vn -c:a copy "${f%.mp4}.m4a"; done
That copies the original audio out of every MP4 in the folder losslessly, naming each output after its source. Swap the codec flags from the section above if you'd rather batch to MP3 or WAV.
If the command line isn't your thing, process files one at a time through a browser tool but standardize your choices first: decide the output format up front, keep a consistent naming scheme (e.g. 2026-07-13_interview-guest.m4a), and drop everything into one folder as you go. A little discipline on naming now saves an hour of hunting later, especially when the audio is feeding a transcription or publishing pipeline.
Common mistakes that ruin your extracted audio
A few traps worth avoiding:
- Re-encoding when you didn't need to. If you're archiving or editing, an MP3 export bakes in avoidable quality loss. Copy the stream instead.
- Extracting to WAV and emailing it. WAV files are huge. They're for editing, not sharing — convert to MP3 for the final hand-off.
- Trusting a random phone app with a whole batch. Test one file first. Some apps add silent quality caps or watermark the output, which you won't notice until file forty.
- Ignoring the source bitrate. Extracting to a "320 kbps MP3" from a low-bitrate source doesn't add quality — it just makes a bigger file. Match the target roughly to what's actually in the video.
- Forgetting the
-vnflag in ffmpeg. Without it, you'll sometimes get a file that still carries a hidden video stream, confusing players and upload forms.
FAQ
Is extracting audio from a video lossless?
Only if you copy the stream instead of re-encoding it. A stream copy (M4A/AAC, or -c:a copy in ffmpeg) keeps the original audio untouched. Any export to MP3 is lossy, even from a high-quality source, because it re-compresses the sound.
How do I extract audio from an MP4 to MP3?
Upload the MP4 to a browser extractor and choose MP3 as the output, use VLC's Convert/Save with an MP3 profile, or run ffmpeg -i input.mp4 -vn -c:a libmp3lame -q:a 2 output.mp3. All three re-encode to MP3, which is the trade-off for MP3's universal compatibility.
Can I extract audio from a video online for free? Yes — a browser-based tool lets you upload a clip and download the audio without installing anything, and it works the same on Windows, Mac, and phones. Check the pricing page for what each plan covers before you run a large batch.
Which format is best for a podcast? For your working master, keep the audio lossless with a stream copy so you're not stacking compression. Export an MP3 only for the version you actually upload or send, since podcast platforms and listeners expect a compact, universally playable file.
Do I need to extract the audio just to get a transcript? No. If words are all you're after, hand the whole video to a speech-to-text tool and skip the export step entirely — it's faster and avoids an unnecessary conversion.
Get clean audio out of any video
Extracting audio is a two-minute job once you know the one thing tutorials skip: copy the stream when quality matters, re-encode to MP3 when compatibility does. Pick your format for the job, keep your files organized, and let the platform that fits your setup do the work. Recapo runs the whole flow in your browser — extract audio, convert formats, and transcribe without installing anything. Create a free account and pull the audio from your first video today.