How to Make Explainer Videos Without Filming
How to make explainer videos without filming: a script-first pipeline — a problem-to-CTA script, a film-free format, AI voiceover, and auto captions.
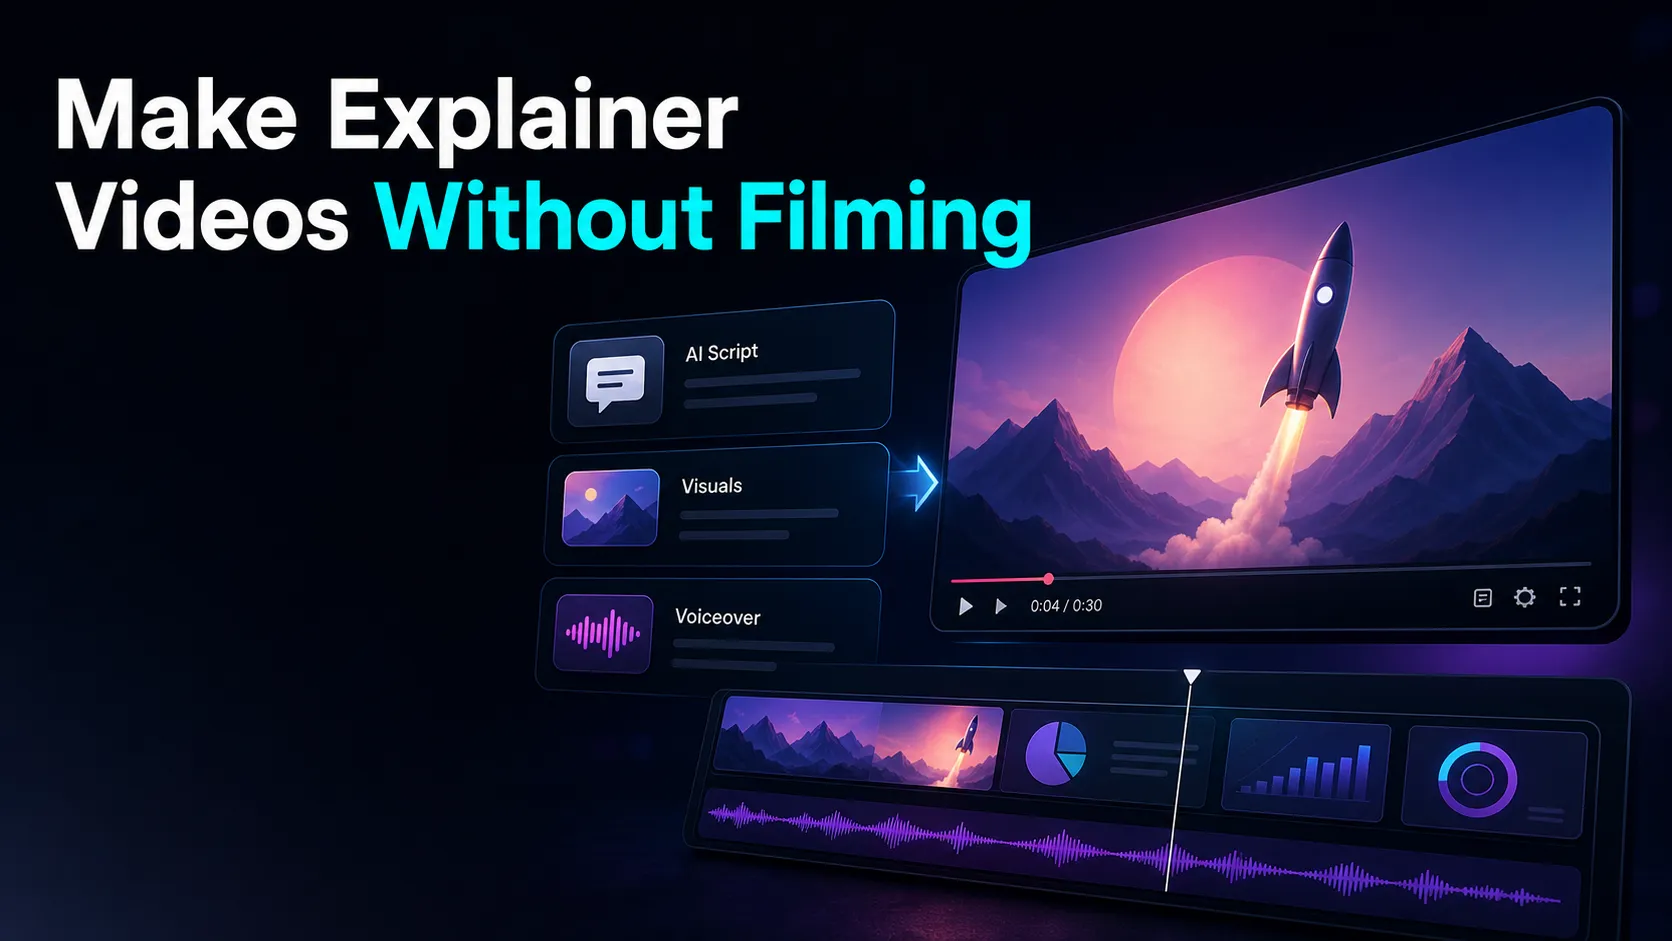
You can produce a clear, professional explainer video without ever turning on a camera — the work is scripting and assembly, not shooting. This guide treats how to make explainer videos without filming as a repeatable five-stage pipeline: write a problem→solution→CTA script, choose one of four film-free visual formats, generate an AI voiceover, add auto captions, and export. The angle here is deliberately narrow — an explainer video without a camera lives or dies on the script and the narration, not on cinematic production value — so most of what follows is about getting those two right and letting the visuals stay simple.
Plenty of "no-camera video" guides hand you a grab-bag of faceless ideas. This one stays on explainers specifically: the teaching, onboarding, and product-walkthrough videos where a viewer arrives with a question and needs it answered fast. That focus changes the priorities — for an explainer, structure beats style and clarity beats polish, and nailing the script's logic lets a plain slideshow out-perform a beautiful animation that rambles. If you want the broader menu of no-face formats, the complete faceless video walkthrough covers that; this article is about the explainer workflow.
Key Takeaways
- You don't need a camera to make an explainer — you need a tight script and a clean voiceover. Filming is optional; structure is not.
- There are four film-free formats that reliably carry an explainer: screen recording, animation/motion graphics, AI presenter, and slideshow/whiteboard. Pick by topic, not by trend.
- Write the script first, in a problem→solution→CTA shape. The visuals should illustrate the script, never the other way around.
- The finishing layer — AI voiceover plus auto captions — is what makes a no-film explainer feel produced instead of thrown together.
- No tool guarantees views or revenue. Platform monetization depends on each platform's own official rules, and any specific threshold you use should come from their help docs, not a blog.
Why explainer videos don't need a camera
An explainer's job is to answer a question, and a question is answered with words and clear visuals — neither of which requires you on screen. That's why an explainer video without a camera isn't a compromise; for most topics it's the natural format. Software, processes, concepts, product features — all easier to show with a screen, a diagram, or a few labeled slides than with a person talking at a lens.
There are four film-free formats that carry an explainer well. Each maps to a different kind of topic, so choose by what you're explaining rather than by what looks impressive.
- Screen recording: you record your screen and narrate. Best when the thing you're explaining lives on a screen: an app, a dashboard, a website, a spreadsheet.
- Animation / motion graphics: illustrated visuals that move. Best for abstract ideas, systems, and "how it works" explainers where there's nothing real to point a camera at.
- AI presenter / digital avatar: a synthetic person delivers your script. Best when you want a face-to-camera feel for onboarding or corporate content but don't want to be that face.
- Slideshow / whiteboard: stills, text cards, and simple drawn frames. Best for definitions, step lists, and quick concept explainers where speed of production matters.
Notice that none of these is about camera gear. The make-or-break inputs are the script and the audio, which is exactly where the rest of this guide spends its time.
Start with the script, not the visuals
Before you pick a format or touch a tool, write the script — because the script is what an explainer actually is. A no filming explainer video is a well-organized answer with pictures attached, and if the answer is muddled, no amount of animation will save it.
Use a simple, durable structure: problem → solution → CTA. It works because it mirrors how a viewer actually experiences the video — they showed up with a problem, they want the solution, and if you delivered it, they'll take a next step.
| Section Its job Rough share of runtime |
| Hook | Name the problem or question in the viewer's own words | First 3–5 seconds |
| Problem | Show why it matters and what's at stake | ~15–20% |
| Solution | Walk through the answer in clear, ordered steps | ~60% |
| CTA | Point to one specific next action | Last 5–10 seconds |
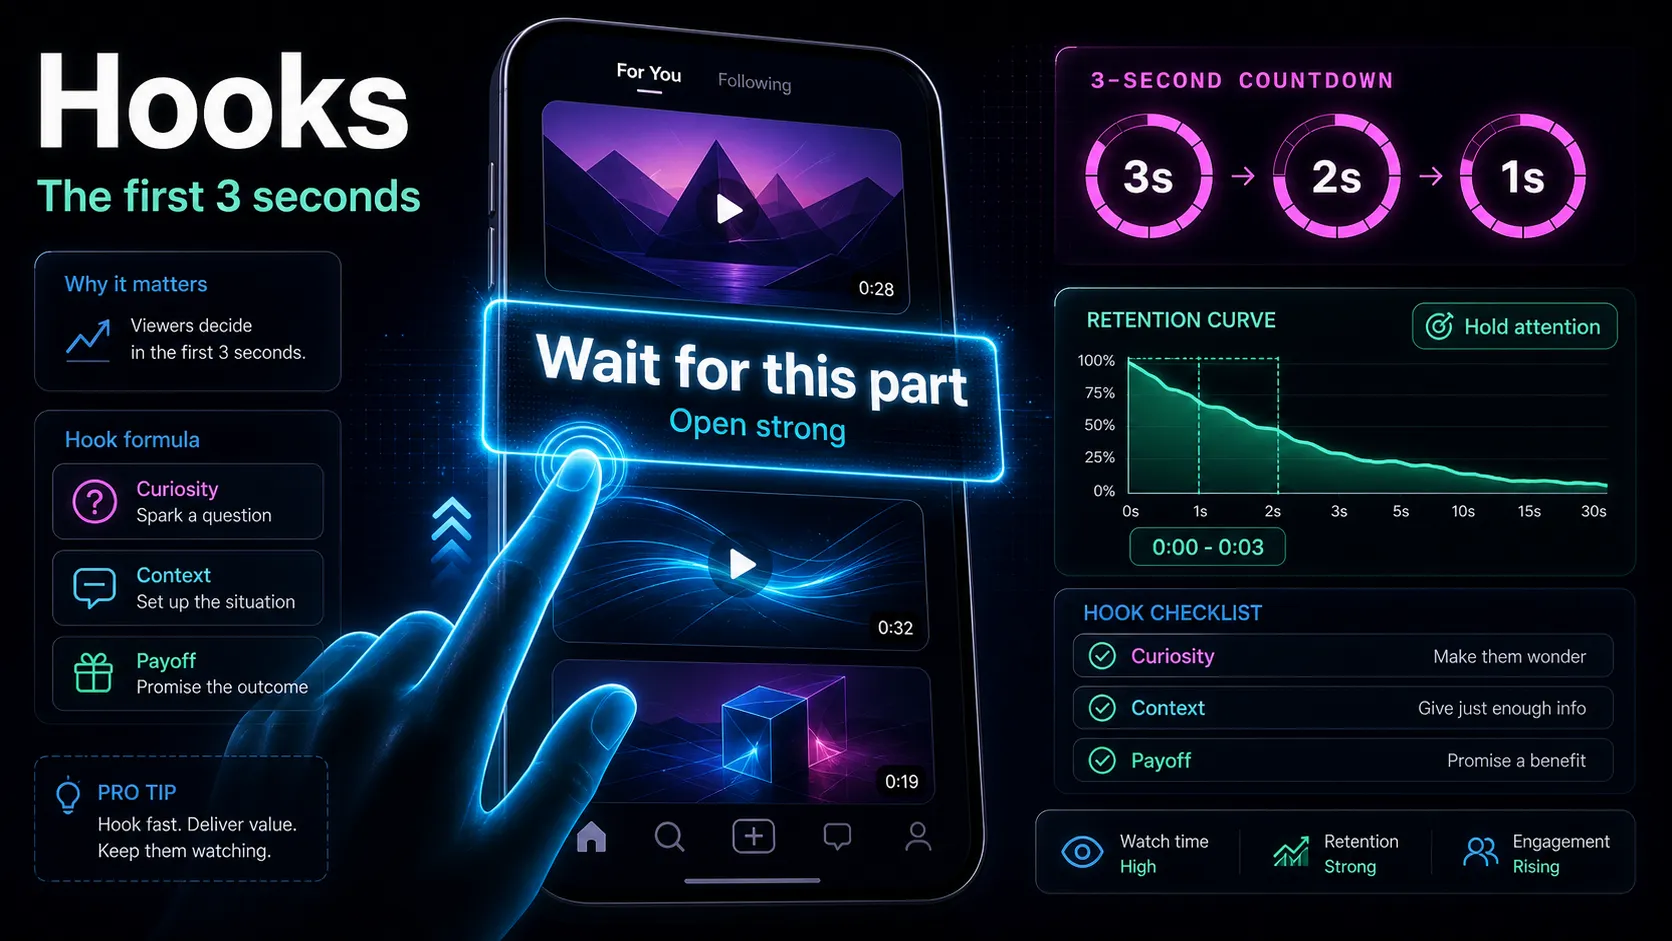
The hook carries disproportionate weight: if the first line doesn't convince a scroller that this video answers their question, the other 90 seconds never get watched. Write it in plain, problem-shaped language — "Your captions are out of sync? Here's the two-minute fix" beats "Welcome to my channel." Draft several openers and pick the one that names the viewer's problem most directly.
Two script habits that separate clear explainers from confusing ones: write for the ear, not the page (short sentences, one idea each, read it aloud to catch tangles), and cut every sentence that doesn't move the viewer toward the solution. An explainer earns attention by respecting time.
Choose your film-free format
With a script in hand, match it to one of the four formats. The table below is your default map — start with one format and blend later if you want.
| Format Best for You'll assemble Watch out for |
| Screen recording | App/software tutorials, dashboards, walkthroughs | A screen recorder + your narration | Clutter, tiny UI, dead air between clicks |
| Animation / motion graphics | Abstract concepts, "how it works," processes | Templates or a motion tool | Slow to build; generic templates feel stock |
| AI presenter / digital avatar | Onboarding, corporate, face-to-camera feel | An avatar tool + your script | Uncanny delivery; the script still decides |
| Slideshow / whiteboard | Definitions, step lists, quick concepts | Slides or a whiteboard tool | Flat pacing reads as low-effort |
A quick self-test if you're torn: ask where does the answer actually live? On a screen? Record the screen. In your head as a diagram? Animate it. A list of steps or terms? A slideshow is faster and just as clear. The fanciest format that fits your topic worst will lose to the plain one that fits it well.
The no-film pipeline: how to make explainer videos without filming step by step
Here's the full sequence from blank page to upload-ready file. It stays the same regardless of which visual format you picked — only step 3 changes.
- Write the script. Draft it in the problem→solution→CTA shape above. Read it aloud; time it. Most single-topic explainers land between 60 seconds and three minutes.
- Choose the format. Use the table to match your topic to screen recording, animation, avatar, or slideshow. Commit to one for this video.
- Assemble the visuals. Record the screen, build the slides, drop your script lines onto motion templates, or set up the avatar. Keep frames uncluttered — one idea on screen at a time.
- Generate the voiceover. Turn your script into narration. If you'd rather not record your own voice, a text-to-speech video tool converts the script straight into a spoken track; if you already have footage and just need audio on top, a voiceover maker does the same job.
- Caption and export. Add captions with an auto captions generator, proofread the terms and product names, then export. If the destination is Shorts, Reels, or TikTok, reframe the file to 9:16 before you publish.
That's the whole loop. Notice how little of it involves a camera — the effort concentrates in steps 1 and 4, the script and the voice, because those are what a viewer actually judges an explainer on.
AI voiceover: making a no-film explainer sound human
Because there's no face on screen, the voice is the presenter. An ai explainer video with a robotic, flat read loses people fast — a monotone delivery signals "low effort" no matter who's speaking. So treat narration as a performance layer, whether it's your own voice or a generated one.
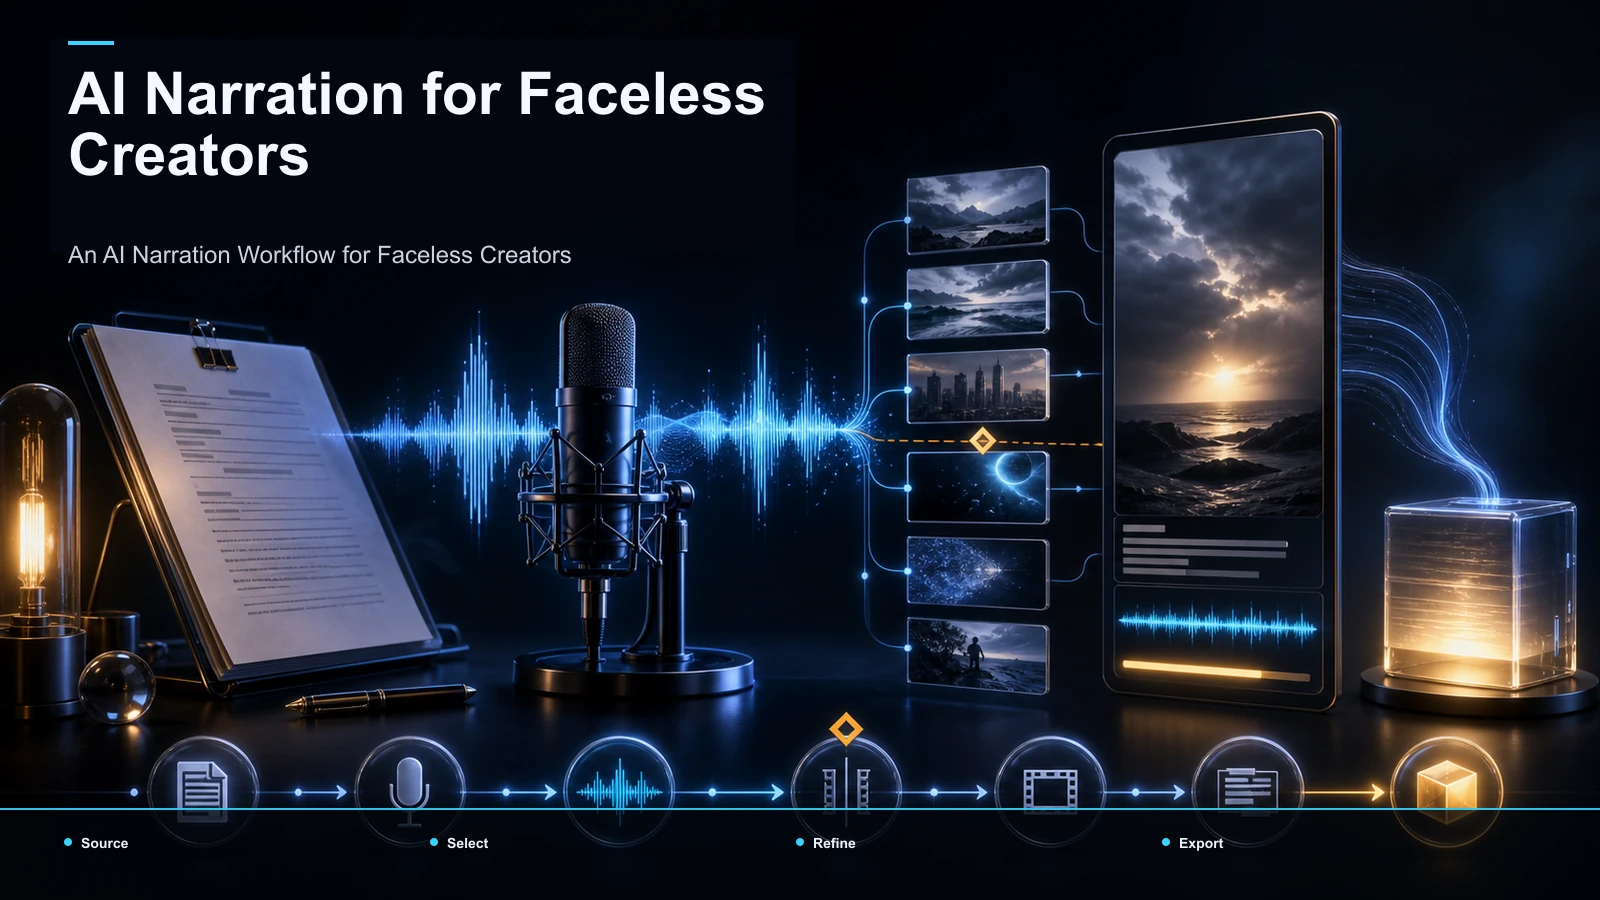
If you record yourself: get close to the mic, kill room echo, and keep your levels even. If you generate the voiceover: pick a natural-sounding voice, and — this is the part people miss — shape the script for the ear so the synthetic read has good raw material. Short sentences, deliberate pauses (a line break or a period the engine can breathe on), and no tongue-twisting jargon all make a generated voice sound more human. For a fuller method on directing generated narration, see the AI narration workflow for creators.
One honest limitation: generated voices still handle unusual names, acronyms, and technical terms imperfectly. Listen back for those, and if a term reads wrong, respell it phonetically or record that word yourself and splice it in.
Captions, export, and the CTA
Some explainers are watched on mute at least part of the time — in an office, a feed, a commute — so captions are part of the explanation; they help viewers follow the content without audio. Auto-generate them, but always proofread. Explainers are dense with the exact words auto-caption engines get wrong: product names, feature labels, numbers, jargon — and a caption that mangles your product's name every time undercuts the whole video.
Then the CTA. This is where a no filming explainer video quietly earns its keep, because explainers usually exist to move someone toward an action — try the tool, read the doc, book the call, subscribe. Make the ask singular and specific. "Start your first project" beats "check out our stuff." One clear next step, stated plainly in the last few seconds and reinforced on screen, beats a pile of options.
Because explainer source material — long screen recordings especially — can be large, assemble it in a tool that accepts big files without pre-compressing. Recapo runs in the browser with no install and accepts standard MP4/MOV files up to 6GB total per task, so a full-length screen capture goes in whole.
Common mistakes with no-film explainers
Even with the right pipeline, a few predictable errors flatten otherwise good explainers. Watch for these:
- Visuals-first thinking. Building slides or animation before the script is written almost always produces a pretty video that explains nothing. Script first, every time.
- Burying the answer. Long intros and "before we start" throat-clearing push the solution past the point where viewers give up. Answer early, elaborate after.
- Overstuffed frames. One idea per screen. Two competing things on screen means the viewer reads instead of listens and loses the thread.
- Skipping the caption proofread. Auto-captions are a draft. Un-checked, they'll misspell the exact terms your explainer is about.
- A vague or missing CTA. If the video's whole purpose is to prompt an action, ending on "thanks for watching" wastes it. Name the one next step.
- Promising outcomes you can't control. Don't tell viewers an explainer format guarantees growth, income, or monetization — those depend on each platform's official rules and on the work, not on the format.
FAQ
Can I really make an explainer video without any filming at all? Yes. Screen recordings, animation, AI presenters, and slideshows are all camera-free, and the two things that actually make an explainer work — a clear script and a clean voiceover — don't require a camera either. Filming is one optional format among several, not a requirement.
What's the fastest film-free format for a beginner? A slideshow or whiteboard-style explainer. You work with text cards, a few visuals, and narration, so there's no footage to shoot, stabilize, or animate frame by frame. Write the script, build clean slides, add a voiceover and captions, and you have a finished explainer in an afternoon.
Do I have to use an AI voice for an explainer video without a camera? No. Your own recorded voice works well and often connects better. A generated voice is simply an option if you'd rather not be heard, or want to produce faster — treat text-to-speech as a choice, not a rule. Whichever you pick, shape the script for the ear so the delivery sounds natural.
How long should a no-filming explainer be? Long enough to answer the question and no longer. Most single-topic explainers land between 60 seconds and three minutes; a "how it works" overview can run longer, a quick fix shorter. Let the script's problem→solution→CTA structure set the length, not a target runtime.
Will an explainer channel get monetized? It can, but that depends on each platform's official program rules — originality, watch time, subscriber thresholds — not on whether you filmed anything. Check the platform's own eligibility page for current requirements rather than trusting a number from a blog, and treat any income claim you see about explainer videos with skepticism.
Write your script in the problem→solution→CTA shape, pick a film-free format, then bring the pieces into Recapo to generate the voiceover, auto-caption it, reframe it vertical if you're posting to Shorts or Reels, and export — all in the browser, no install, source files up to 6GB total per task. Create a free account and turn your next explainer script into a finished video without ever picking up a camera.
References and official sources
- YouTube Help: Create a Short
- YouTube Help: Add subtitles and captions
- YouTube: Getting your videos discovered
- Recapo.ai: Product overview and current upload limits
- Recapo.ai: AI Video Editor