How to Isolate Sound Effects from a Video
Learn a rights-safe workflow for isolating impacts, ambience and transition sounds from video while checking overlap, residue and manual repair needs.
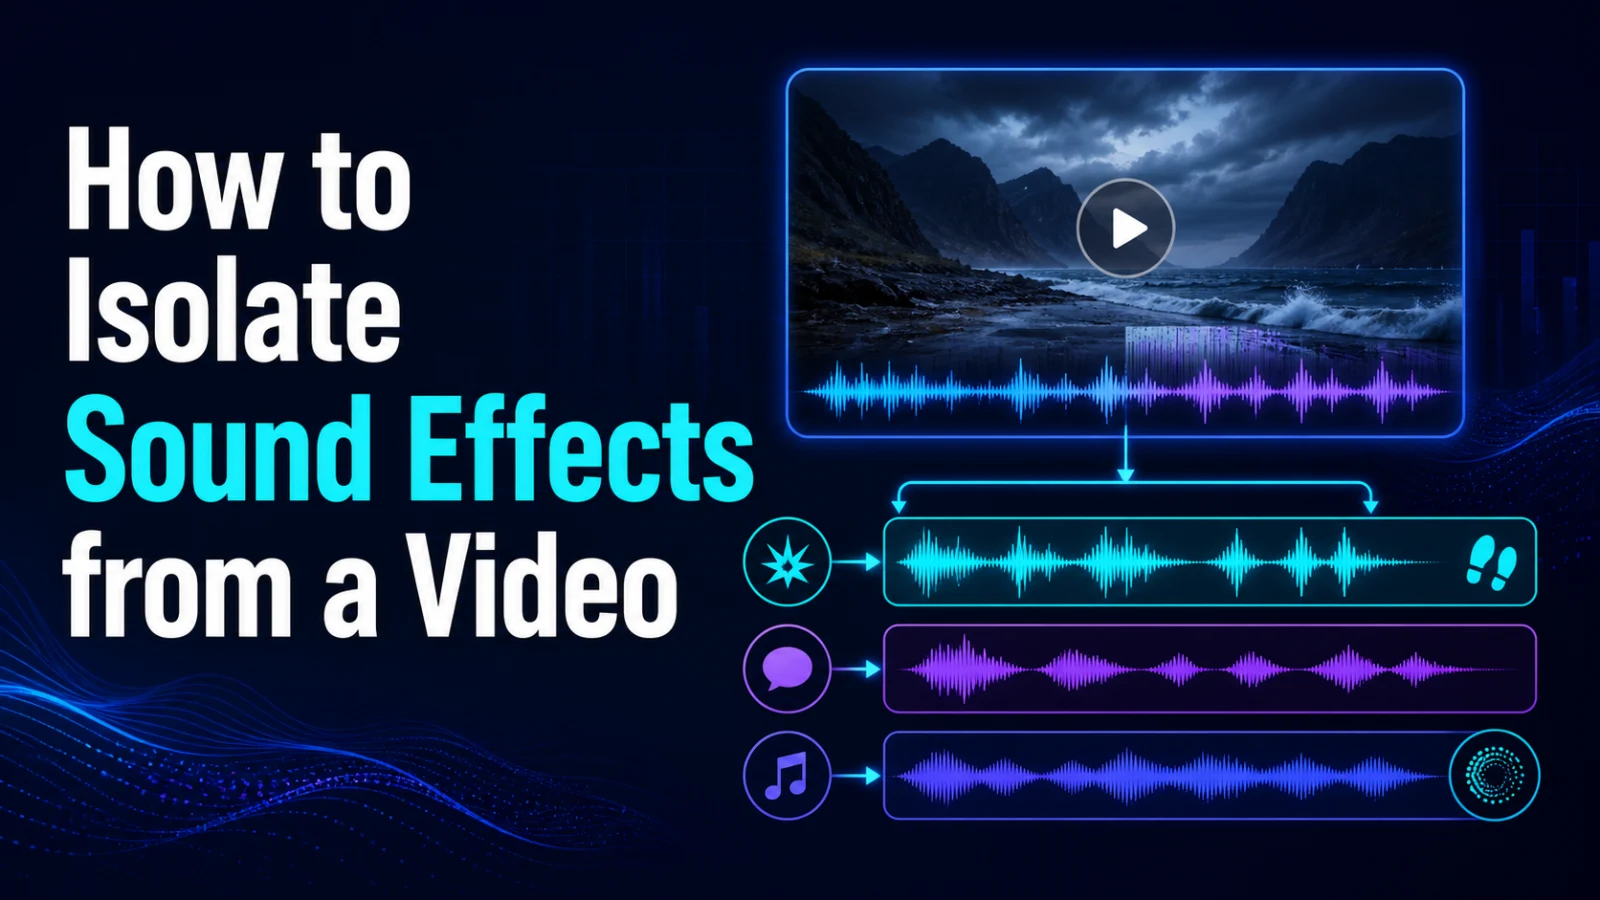
To isolate sound effects from a video, start with footage you have the right to process, separate the soundtrack into dialogue, music and effects-oriented outputs, then review the effects track around every overlap. Impacts, ambience and transitions may be recoverable, but speech, score and reverberation can leave residue. Treat the result as an editable starting point—not a guaranteed clean library asset.
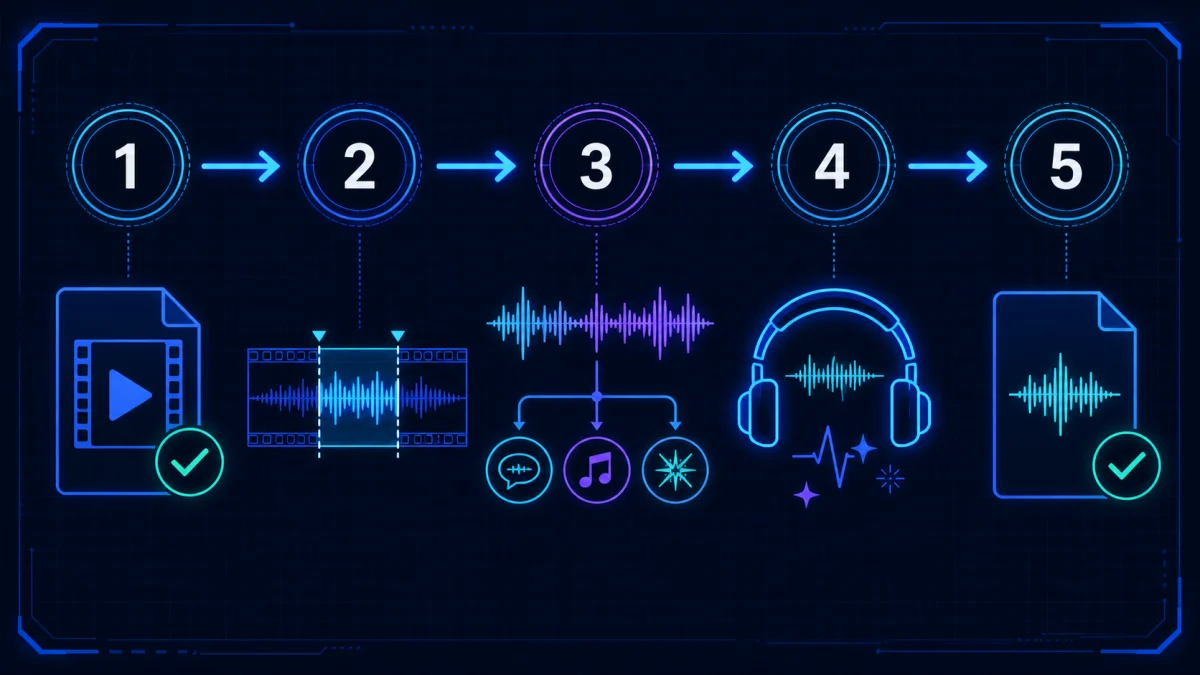
What counts as a sound effect in a mixed video?
The effects layer can include short impacts, footsteps, clicks, doors, interface sounds, risers, environmental ambience and transition sounds. In a finished video, these elements may share time and frequency space with speech and music.
That overlap is the central difficulty. A clean footstep between lines of dialogue is easier to recover than a crash under loud music and narration. Before processing, identify the exact moments you need instead of expecting every second of the output to be equally usable.
Step 1: confirm your rights and define the target
Only process material you own, created, licensed or otherwise have permission to use. Separation does not create new rights in someone else's film, music or recording.
Write a short target list such as:
- three interface clicks from your own product demo;
- room ambience from an interview you recorded;
- transition impacts from a campaign video your team produced;
- footsteps from an original short film.
A precise target makes quality review faster and prevents unnecessary reuse of unrelated material.
Step 2: choose a representative test section
Do not begin with the full file. Select a short section that includes one clean effect, one effect overlapping speech and one effect overlapping music. This exposes both the best case and the hard case before you commit time to the whole soundtrack.
Listen on the same headphones or monitors throughout the test. Changing playback devices can make comparisons less reliable.
Step 3: separate dialogue, music and effects
Use an audio-separation workflow designed for video soundtracks. The objective is to create separate working outputs for the main soundtrack components, then inspect the effects-oriented track.
Open the Recapo Audio Separator when your source is a video mix and you need dialogue, music and sound effects to become different editing decisions. Check the current interface for supported inputs and outputs before processing a large file.
Step 4: review the effects output moment by moment
Solo the effects output and compare it with the original at the same playback level. Inspect these failure types:
| Check What to listen for Possible response |
| Speech bleed | Syllables or consonants inside the effect | Trim around the effect or choose another take |
| Music residue | Notes, rhythm or reverb tails | Use a shorter region or keep the effect under new ambience |
| Broken transient | Impact loses its initial attack | Replace it with an authorized source or keep the original mix |
| Pumping | Level rises and falls unnaturally | Use a gentler edit or reduce additional processing |
| Missing ambience | Background bed becomes discontinuous | Add authorized room tone beneath the edit |
Reviewing the hardest moments first is more efficient than cleaning the easy moments and discovering later that the important effect cannot be repaired.
Step 5: trim, label and preserve context
When an effect is usable, trim only the region you need and keep a little space before and after it. Give the file a descriptive name based on the source and action, then retain the original project reference and rights information.
For ambience, preserve a longer loopable section and listen for repeated speech fragments. For short impacts, keep the full attack and natural decay. Avoid aggressive denoising that makes the effect sound detached from the scene.
When the result is good enough
“Good enough” depends on the destination. A subtle effect placed under new dialogue may tolerate faint residue that would be obvious in an isolated sound library. A clean UI click for a product demo needs a sharper transient and less room tone.
Evaluate the output in its final context, not only in solo. Then keep the least processed version that meets the project need.
When to use a different tool
- Use an Audio Extractor when you only need the original soundtrack as one file.
- Use a Vocal Remover when the main task is voice versus accompaniment in music.
- Use Audio Noise Reduction when the problem is hiss, hum or constant background noise rather than mixed sound categories.
For the broader three-part workflow, read How to Separate Dialogue, Music, and Sound Effects from a Video.
FAQ
Can I isolate every sound effect from any video?
No. Results depend on the source mix, overlap, reverberation and compression. Some effects will remain blended with music or speech.
Is extracting audio the same as isolating sound effects?
No. Audio extraction produces the existing soundtrack as an audio file. Isolation attempts to separate parts of that mix into different working outputs.
Can I reuse effects isolated from a movie or another creator's video?
Separation does not grant reuse rights. Only process and reuse material when you have the necessary rights or permission.
Why does the effects track contain voices?
Speech and effects may overlap in time and frequency, and reverberation can spread voice energy across the mix. Review and trim the result instead of assuming perfect separation.
Start with the hardest ten seconds
Choose a representative section, test the Recapo Audio Separator, inspect the effects output for bleed and broken transients, and calculate the manual repair required. That short test tells you whether the workflow is suitable before you process the full video.