How to Compress a Video Without Losing Quality
Compress video without visible quality loss: CRF vs bitrate, H.264 vs H.265, platform export targets, and a browser workflow.
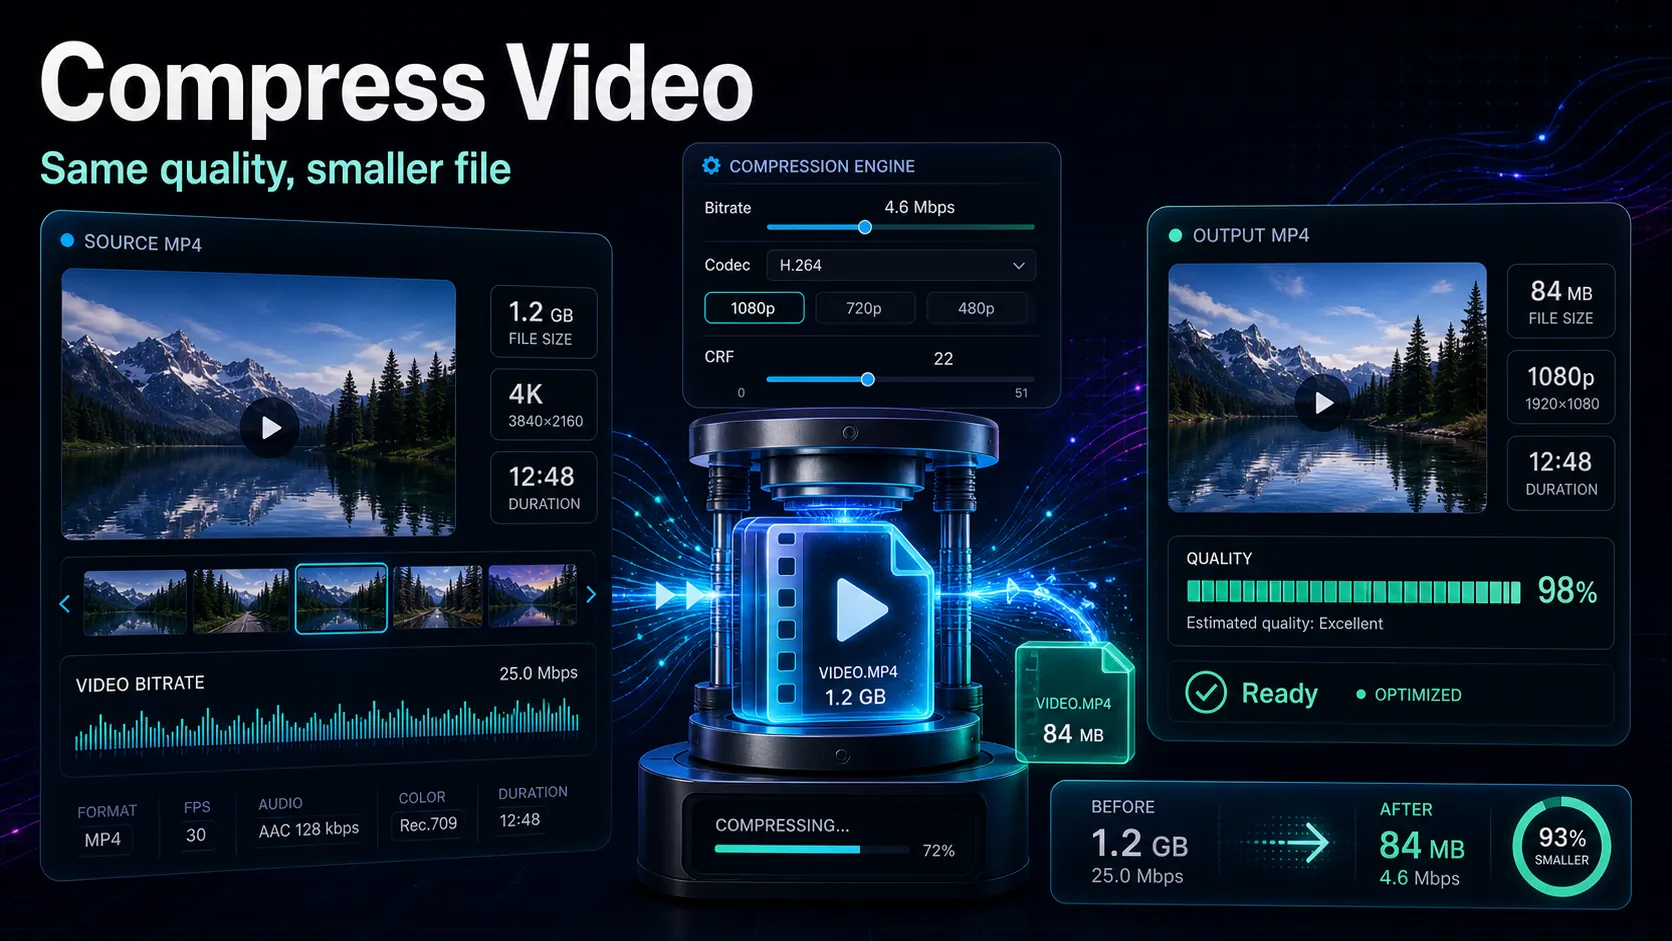
The honest answer to how to compress a video without losing quality is this: you cannot delete data for free, but you can shrink most files by 50–80% with no difference a viewer will ever notice — as long as you adjust three things deliberately (resolution, bitrate, and codec) instead of dragging some vague "quality" slider and hoping. This guide explains exactly what those three knobs do, when to use CRF versus a fixed bitrate, why H.265 can nearly halve a file at the same visual quality, and the export targets YouTube, TikTok, Shorts, and Reels actually want. Then you'll compress a video online in your browser, step by step, and learn the one mistake that turns a clean clip into mush.
Most "video compressor online" pages skip all of that. They give you a single button and never tell you what it's doing, so you either get a file that's still too big or one that looks smeared. Understanding the settings takes ten minutes and pays off on every upload afterward.
Key Takeaways
The three knobs that actually change file size
Every compression tool, no matter how it's dressed up, is really adjusting some combination of three variables. If you know what each one costs you, you stop guessing.
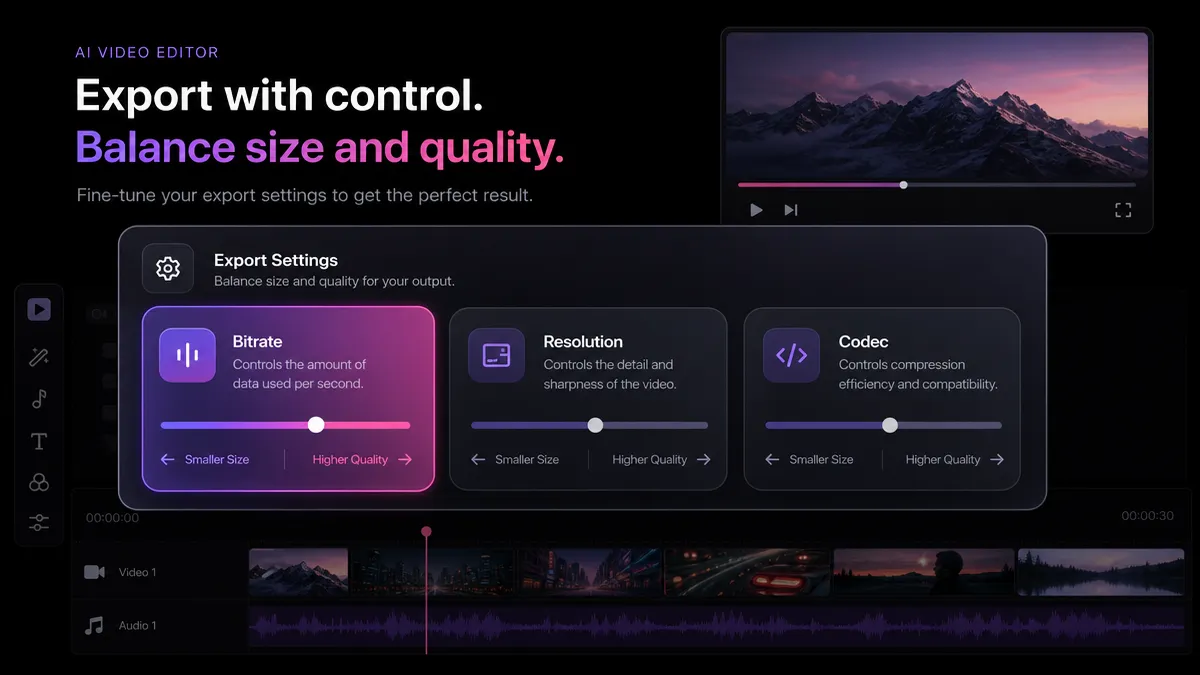
| Resolution | Pixel dimensions (e.g. 4K → 1080p) | Large — halving each dimension cuts pixels 4× | Only visible if the viewer's screen is bigger than the new resolution | Bitrate | Data spent per second of video | Direct and linear — half the bitrate ≈ half the size | The main lever for "does it look blocky" | Codec | The compression math (H.264, H.265, etc.) | Newer codecs pack the same quality into fewer bits | Same or better quality per bit, at the cost of speed/compatibility |
The single biggest mistake people make is trying to reduce video file size by dropping resolution when the real problem is bitrate. A 1080p clip exported at a bloated 40 Mbps is huge and looks identical to the same clip at 10 Mbps. Fix the bitrate first; only drop resolution when the destination genuinely doesn't need the pixels (for example, exporting a 4K source for a phone-only vertical feed).
A quick sanity check: file size ≈ bitrate × duration. A 10-minute clip at 8 Mbps is roughly 8 × 600 ÷ 8 = 600 MB. That formula lets you predict the output before you even encode, and it's why bitrate is the knob to reach for first.
Bitrate vs CRF: constant quality is usually what you want
There are two ways to tell an encoder how hard to compress, and picking the right one is most of the battle.
CRF runs on a scale from 0 (lossless, enormous) to 51 (tiny, ugly). Lower = better quality and bigger files. For H.264, these are reliable starting points:
| 17–18 | Visually indistinguishable from source | Archival, re-editing masters | 20–23 | No difference a normal viewer will notice | The sweet spot for uploads | 24–27 | Slightly soft in complex scenes | Aggressive shrinking, previews | 28+ | Visibly degraded | Only when size beats quality |
If you remember one number, make it CRF 23 for H.264 — it's the default for a reason and hits the "smaller but nobody can tell" target on most footage. When a tool only offers a "quality" slider or a Low/Medium/High choice, "High" typically maps to this range.
H.264 vs H.265 (and where AV1/VP9 fit)
The codec is where the "without losing quality" magic actually lives, because a newer codec fits the same picture into fewer bits.
| H.264 (AVC) | The universal default | Baseline (100%) | Plays literally everywhere | H.265 (HEVC) | The efficiency upgrade | ~40–50% smaller | Very wide now, but not every old device | VP9 / AV1 | Streaming-native, royalty-free | Similar to or better than H.265 | Best for web/YouTube ingest, slower to encode |
The practical rule: upload in H.264 for maximum compatibility, or switch to H.265 when you need the smallest possible file and you control the playback environment (your own site, a phone, cloud storage). Platforms re-encode everything you upload anyway, so H.265's savings help most with your storage and your upload time rather than the final viewer experience.
One honest caveat: H.265 encodes slower and some older editing apps and messaging clients still choke on it. If a file needs to be universally openable — think client deliverables or email — stay on H.264. If you're moving between formats first, our guide on how to convert MKV to MP4 covers getting an odd container into a clean H.264 MP4 before you compress.
How to Compress a Video Without Losing Quality in 5 Steps
Here's the browser workflow. It runs inside Recapo, a browser-based video workspace with no install, so you skip the multi-gigabyte desktop encoder and the "which build do I download" dance. Each task accepts MP4, MOV and other common formats up to 6GB.
- Upload the source. Open the video compressor and drop your file in. If it's a screen recording or an odd container, convert it to a clean MP4 first with the video format converter so the compressor has a predictable input.
- Set the target, not just "smaller." Decide where this file is going. For an upload, aim for the platform's recommended bitrate (table below). For storage, pick a CRF around 23. Give the encoder a goal instead of a blind percentage.
- Choose the codec. Keep H.264 for anything you'll share or re-edit. Switch to H.265 with the H.264 transcoder workflow when you want the maximum shrink for archiving or a self-hosted player.
- Match the resolution to the destination. Leave 1080p at 1080p for feeds; only downscale a 4K master to 1080p when the audience will never watch above phone size. Downscaling is the one lossy step you should do on purpose, not by accident.
- Export and spot-check. Scrub the busiest few seconds — fast motion, confetti, water, grass — at full screen. If those look clean, the whole file is fine. Compression artifacts always show up first in high-detail motion, so that's where you audit.
That's the entire process. The settings above matter far more than which button you press.
Export targets for YouTube, TikTok, Shorts, and Reels
The reason a file feels "too big" is almost always a mismatch between your export and what the platform actually ingests. Here are practical starting bitrates. Treat them as floors-to-aim-for, not hard limits — every platform re-encodes on their end.
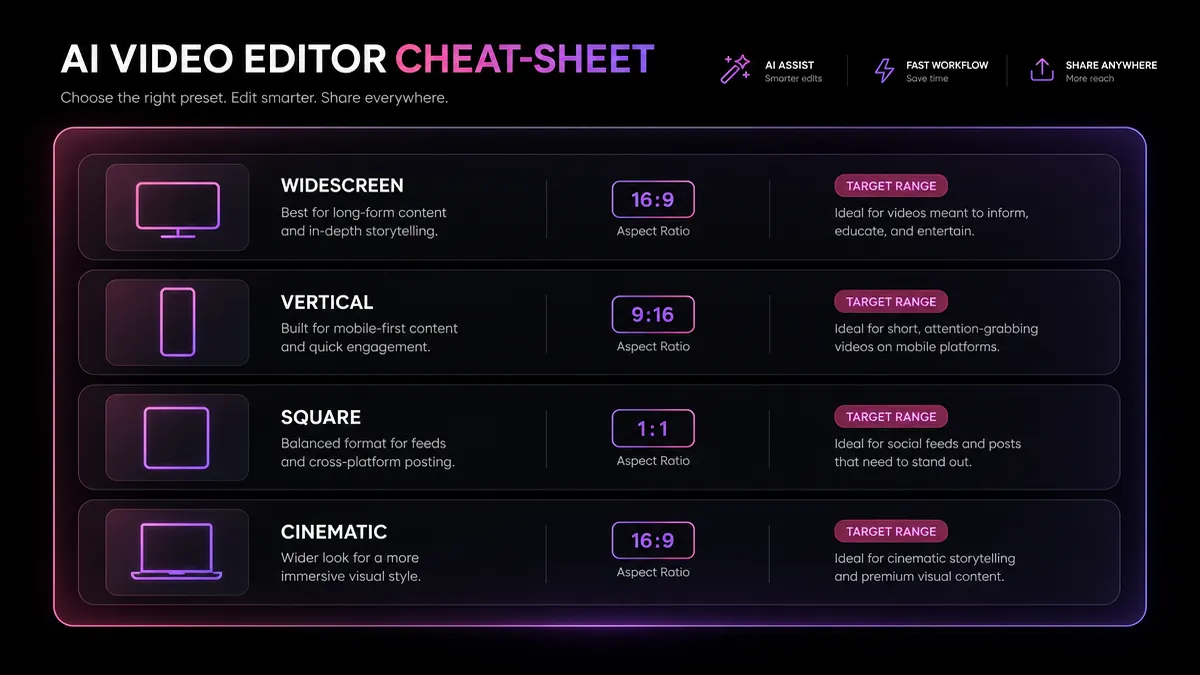
| YouTube (1080p) | 1920×1080 | MP4 / H.264 | ~8–12 Mbps | Go higher for lots of motion | YouTube (4K) | 3840×2160 | MP4 / H.264 or H.265 | ~35–45 Mbps | H.265 saves major upload time | TikTok | 1080×1920 | MP4 / H.264 | ~6–10 Mbps | Vertical; keep audio at 128–192 kbps | YouTube Shorts | 1080×1920 | MP4 / H.264 | ~8–10 Mbps | Same master as a TikTok export | Instagram Reels | 1080×1920 | MP4 / H.264 | ~6–9 Mbps | Compresses hard on their side, so start clean |
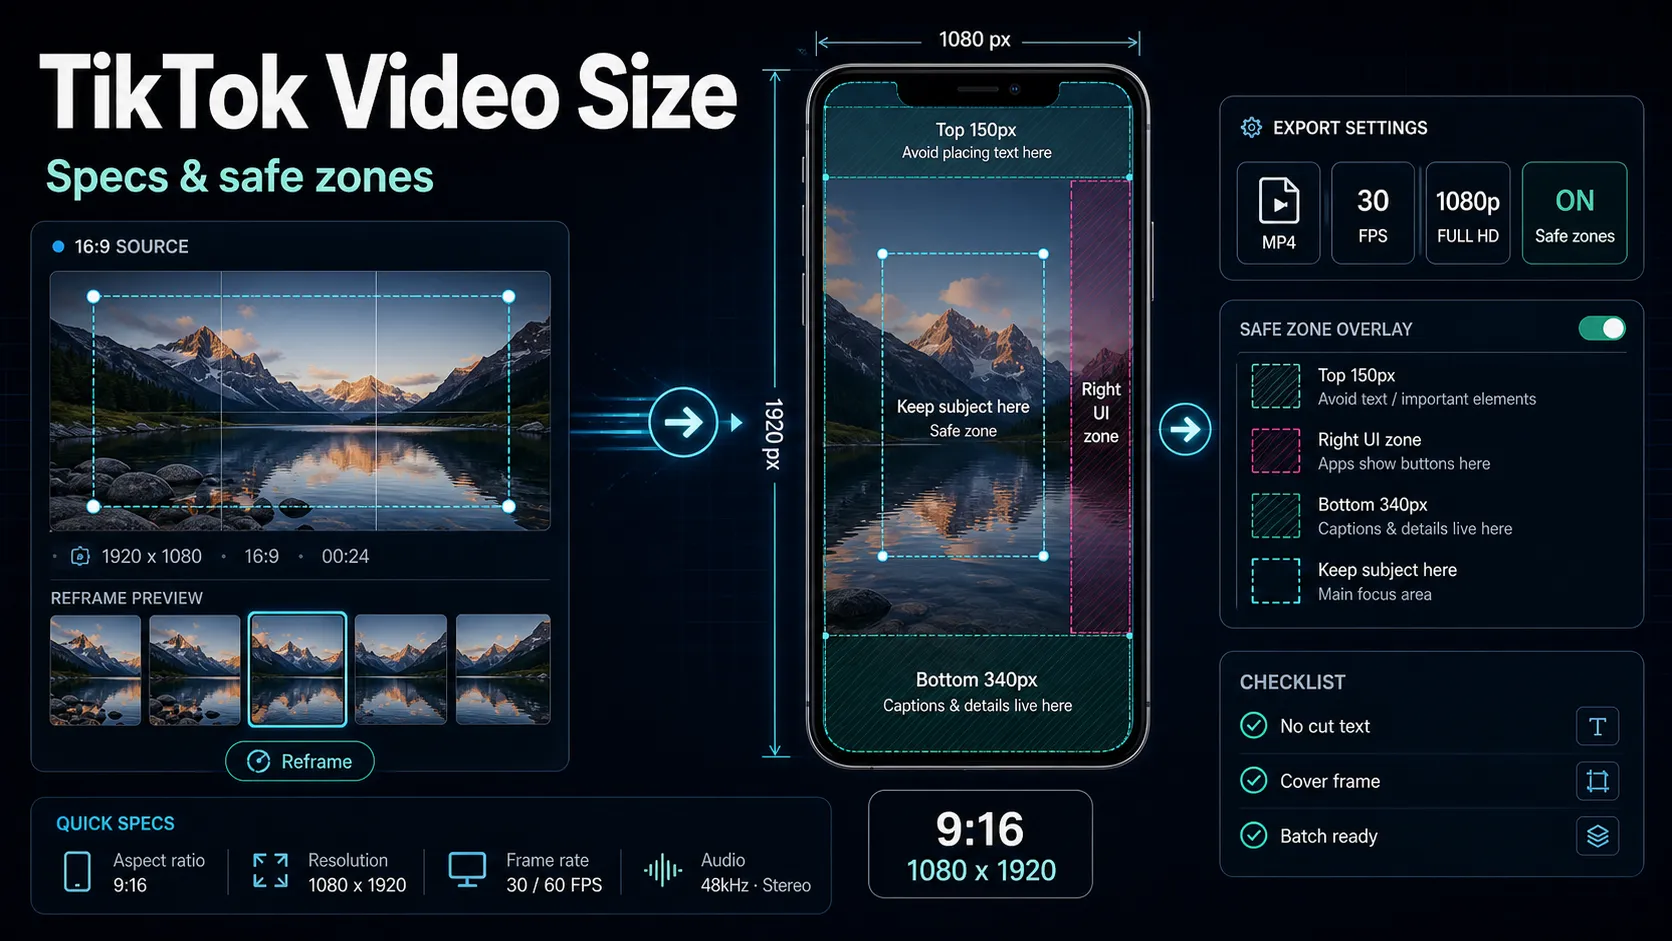
To compress video for YouTube specifically, exporting at these targets typically drops a bloated editor output by more than half while staying above the platform's re-encode threshold — meaning your uploaded file is smaller and looks the same after YouTube processes it. If you publish vertical, our TikTok video size guide breaks down the exact dimensions and safe zones so you're not compressing a wrongly-framed file twice.
Batch-compressing a backlog without babysitting it
Compressing one clip is easy. The pain is a folder of 40 recordings you've been meaning to clean up. A repeatable approach beats hand-tuning each one:
- Sort by destination, not by date. Group everything going to the same place — all YouTube uploads, all vertical clips, all archive files. Each group gets one settings recipe.
- Lock a recipe per group. For example: "vertical uploads → 1080×1920, H.264, ~8 Mbps" and "archive → keep resolution, H.265, CRF 25." Now no per-file decisions are needed.
- Standardize the input first. Run any mixed containers through conversion so every file is a clean MP4 before compression. Consistent inputs mean consistent, predictable outputs.
- Compress, then verify a sample. Don't check all 40 — check the two most complex clips in each group. If those hold up, ship the batch.
The whole point is to make one good decision per group instead of forty small ones. A browser workspace helps here because there's nothing to install per machine — you can run the same recipe from any computer.
The re-compression trap: why the second pass turns to mush
Here's the counterexample that catches almost everyone. Compression is generational — every time you re-encode an already-compressed file, you lose a little more, and it never comes back. Do it two or three times and a clean clip turns visibly soft and blocky.
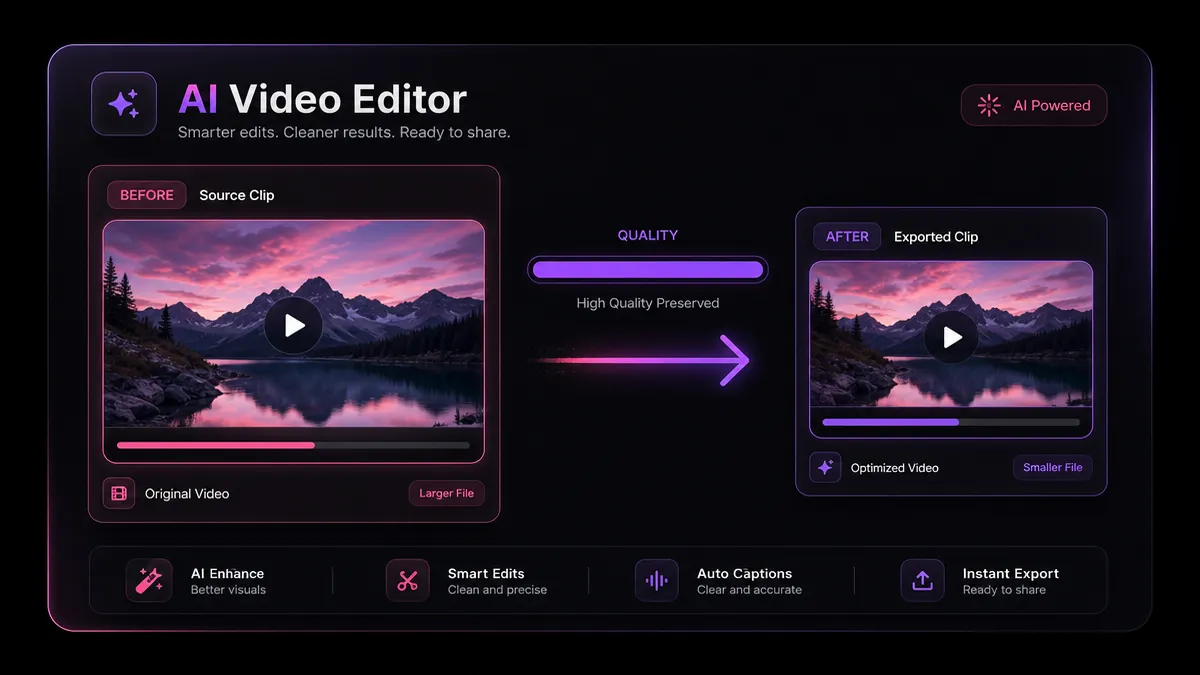
The classic path to mush:
By pass three or four, no CRF value can save it, because the detail is already gone. The fixes are simple and non-negotiable:
If your workflow keeps the original clean and only compresses on the final export, you'll get the smallest file and the best-looking result. If you'd rather understand the whole pipeline before you optimize any single step, our overview of AI video editing explained shows where compression sits in the larger edit-to-publish flow.
FAQ
Can you really compress a video without losing any quality at all? Truly lossless compression exists (CRF 0), but the files are enormous and defeat the purpose. What people actually want is visually lossless — smaller with no difference a viewer can see. That's very achievable: a CRF around 20–23 on H.264, or a switch to H.265, routinely cuts file size by half or more while looking identical on a normal screen.
Why is my exported video so much bigger than the original? Almost always because your editor exported at a much higher bitrate than the source needed, or added a higher frame rate or resolution. Re-export at a sensible target bitrate for the destination, and the file will shrink dramatically without any visible change. Resolution is rarely the culprit — bitrate usually is.
Should I compress before or after uploading? Before. Every platform re-encodes on their side, but a smaller, properly-encoded upload processes faster and gives their encoder cleaner data to work with. Just make sure you compress from a high-quality master, not from a file you already squeezed once.
H.264 or H.265 — which should I pick? Choose H.264 when the file needs to open anywhere: client work, re-editing, messaging, older devices. Choose H.265 when you want the smallest possible file and you control playback — self-hosted video, phone-only feeds, or long-term storage. H.265 is slower to encode but roughly 40–50% smaller at the same quality.
What's a safe bitrate for a 1080p YouTube upload? A practical starting point is around 8–12 Mbps for standard-motion 1080p, higher for fast action or lots of fine detail. That range keeps you above YouTube's re-encode threshold while producing a file far smaller than a typical bloated editor export.
Ready to compress your next upload the smart way?
You now know the settings that every one-click "video compressor online" hides: bitrate over resolution, CRF for constant quality, H.264 for reach or H.265 for size, and a real per-platform target instead of a guess. Put it into practice without downloading anything — create your free Recapo account, upload a file up to 6GB, and run it through the compressor, transcoder, and format converter in one browser tab. Compress once, from a clean master, and every upload after this one goes out smaller and sharper. Pricing details live on the pricing page whenever you're ready to scale up.